
How to Measure Windows for Shades Correctly
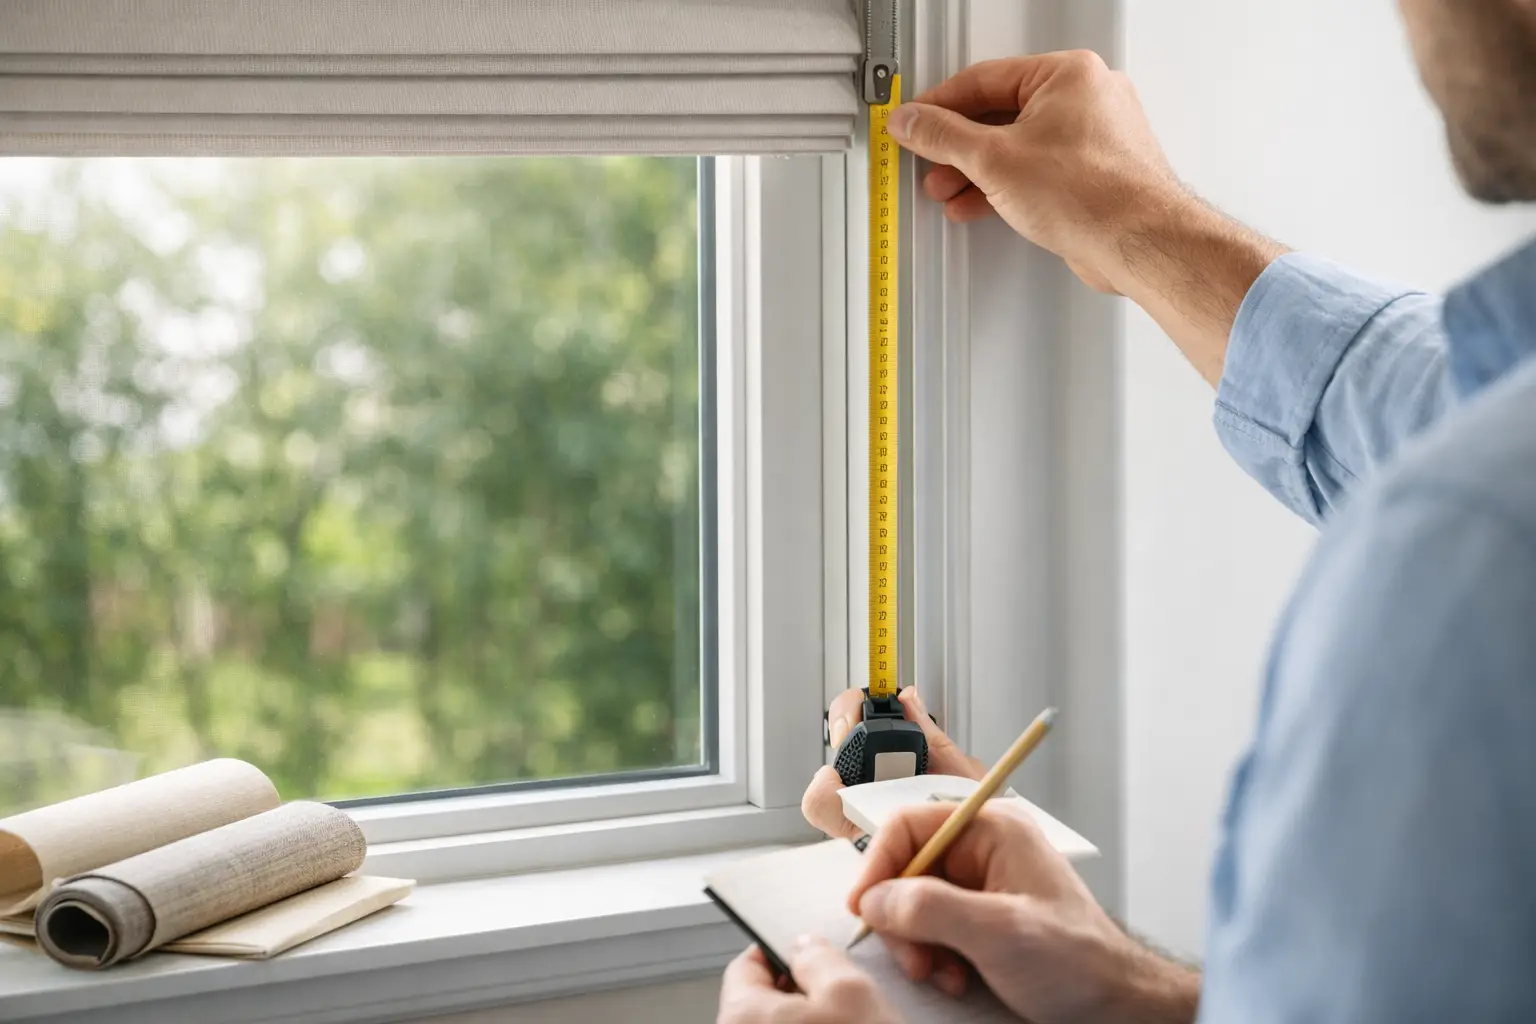

A shade can look beautifully tailored in a showroom and still disappoint if the measurements miss a narrow window recess, a projecting handle, or the space needed above the frame. Knowing how to measure windows for shades gives you a clearer sense of what will suit your room, whether you are planning sleek roller shades in a condo, room-darkening shades in a bedroom, or solar shades in a sun-filled office.
The first decision comes before the tape measure: will the shade sit inside the window opening or outside it? That choice affects light control, privacy, visual proportion, and the dimensions you provide. Measure carefully, record every number in inches, and resist the urge to round up or down. With custom window coverings, precision is what creates the clean, finished look.
Choose Your Mount Before You Measure
An inside mount fits within the window recess. It is a popular choice when you want to highlight attractive trim, preserve a clean architectural line, or keep a compact profile in a smaller space. In high-rise condos, it can also make a wall of windows feel less visually crowded. The trade-off is that small gaps around the edges are normal, so an inside mount may allow a little more light into bedrooms or media rooms.
An outside mount is installed on the wall or trim around the opening. This option can make a narrow window appear larger, cover shallow or uneven recesses, and improve room darkening by extending beyond the glass. It is often the more forgiving choice for windows with cranks, handles, security sensors, or limited mounting depth.
Before measuring, look closely at the window area. Check for molding, tile, sprinkler heads, door swings, furniture, and nearby windows. In a condo, also consider whether a bulkhead, concrete header, or floor-to-ceiling glazing affects where the brackets can be secured. The best shade is not simply the one that fits the glass. It needs a practical, stable installation point and enough clearance to operate comfortably.
How to Measure Windows for Shades: Inside Mount
Use a steel tape measure rather than a cloth tape. Measure the opening in three places for both width and height, because window recesses are rarely perfectly square.
Measure the Width
Measure the inside width at the top, middle, and bottom of the opening. Record all three measurements, then use the narrowest width. This prevents the shade from binding if the opening tapers slightly.
Measure from one inside edge of the recess to the other, not from the outer edge of the trim. Do not make your own deductions for clearance unless your window-covering professional specifically asks you to. Custom shade systems have their own bracket and fabric allowances, and the final production measurement depends on the product selected.
Measure the Height
Measure the inside height at the left, center, and right. For shades that lower from the top, record the longest height so the treatment reaches the sill or the desired stopping point. Note whether the window has a sill, a deep ledge, or no sill at all, as these details affect how the shade is finished and where it rests.
Check Mounting Depth and Obstructions
Width and height alone do not confirm that an inside mount will work. Measure the usable depth from the front edge of the recess to the first obstruction. Handles, cranks, raised tiles, and trim can reduce this usable space.
Different shades need different depths for a flush or partially recessed installation. A low-profile roller shade may suit a tighter opening, while a layered zebra shade or a motorized system may need more room. If the shade must clear a protruding handle, an outside mount or a different product configuration may be the better-looking solution.
How to Measure Windows for Shades: Outside Mount
Outside-mounted shades give you more flexibility because you are measuring the coverage area rather than the recess. Start by deciding how much overlap you want beyond the opening. More overlap generally improves privacy and light control, but the available wall space sets the limit.
Measure the Finished Width
Measure the width you want the shade to cover, including the desired extension on both sides of the window. For stronger light control, many homeowners choose coverage that extends a few inches past each side of the opening when space allows. If one side is close to a wall, cabinet, or adjacent window, reduce the overlap on that side and keep the treatment centered as much as possible.
Be mindful of trim. You can mount above and beyond it for a larger, more contemporary look, or mount directly to the trim if it is wide and structurally suitable. The right choice depends on the room’s proportions and how much of the trim you want to show.
Measure the Finished Height
Measure from the point where the brackets will be installed to the point where you want the shade to end. For a standard window, mounting above the frame creates a taller visual line and helps limit light at the top. For a room-darkening application, extra height above the opening is especially useful.
For doors or floor-to-ceiling windows, measure down to the floor and allow for clearance so the bottom does not drag. A small gap is usually preferable to fabric that brushes the floor, particularly in busy areas where cleaning and daily operation matter.
Record Details That Change the Final Fit
A measurement sheet should include more than width and height. The notes you make now can prevent surprises at installation and help you compare shade options with confidence.
Include these details when planning custom shades:
- Whether each opening is inside or outside mounted
- The width, height, and usable recess depth in inches
- Handles, cranks, sensors, tiles, trim, or other obstructions
- The desired control location, especially for cordless or motorized shades
- Whether windows tilt inward, open outward, or sit behind furniture
- Your priorities for privacy, glare reduction, UV protection, or room darkening
If several windows appear identical, measure each one separately. Even in newer buildings, openings can vary by a fraction of an inch. Label measurements by room and window position, such as “Living room, left window,” rather than relying on memory later.
Common Measuring Mistakes to Avoid
The most common mistake is measuring only the glass. Glass dimensions are useful for understanding the visible area, but they are not enough to order a mounted shade. Brackets, trim, recess depth, and desired coverage all affect the final size.
Another issue is assuming that every bedroom needs an inside mount. An inside mount can look refined, but it will naturally have side light gaps. If sleep quality, nursery naps, or screen viewing are the priority, an outside mount with generous overlap may perform better. It depends on the room and the level of light control you expect.
Avoid rounding measurements to the nearest whole inch. Record to the nearest one-eighth of an inch. Also, do not assume a narrow recess can support every style of shade. The most attractive option is one that can be installed properly and operated without rubbing against the window hardware.
Motorized and smart shades deserve an extra pause during planning. Confirm where power will come from, whether battery access will be convenient, and how the shade will be controlled. For larger windows, a professional can advise on the best placement, fabric weight, and system configuration for smooth daily use.
When Professional Measurement Makes Sense
Measuring your windows is a useful first step, particularly when you are exploring styles and setting a budget. But professional measurement adds value when windows are oversized, uneven, unusually deep, close together, or part of a large condo wall. It is also worthwhile for motorized shades, commercial spaces, and rooms where precise privacy or room-darkening performance matters.
A professional visit considers the details that are easy to overlook: mounting surfaces, bracket clearance, fabric roll direction, safe control placement, building requirements, and the way a shade will look from both inside and outside. That is the difference between a treatment that merely covers a window and one that feels designed for the space.
Canadian Blinds Pros can confirm measurements in-home and help you select a custom shade that balances style, comfort, and everyday function. Bring your preliminary measurements to a consultation, but let the final fit be guided by the real window, the room, and how you want the light to feel when the shade is down.