
How to Prepare for Blind Installation at Home
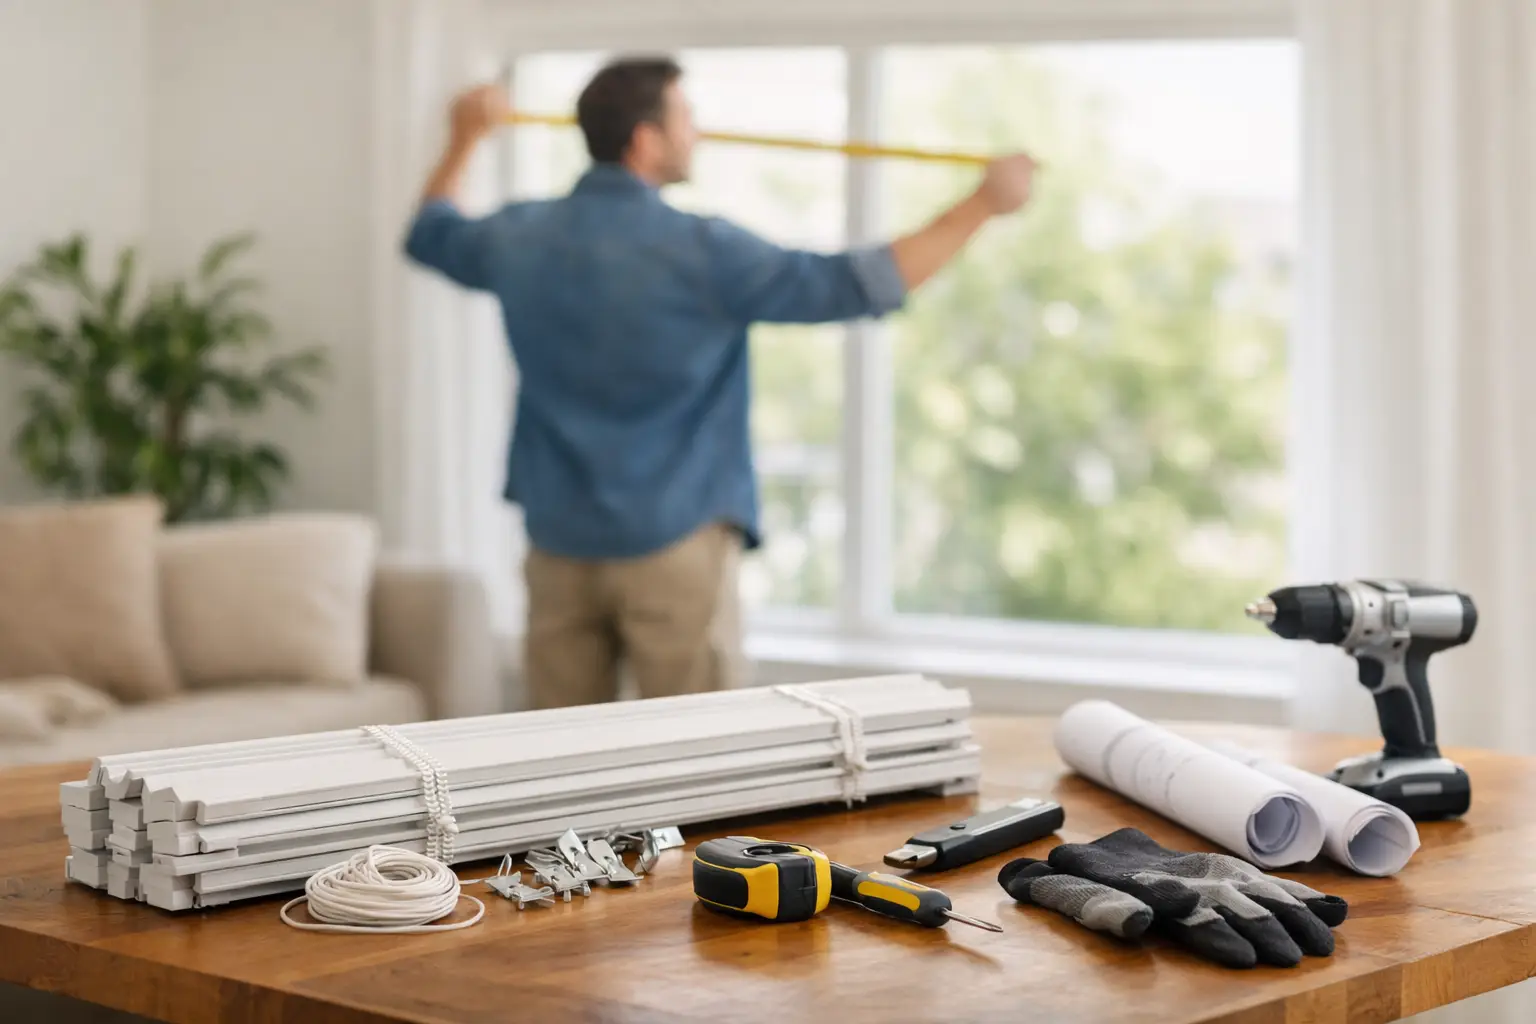

A perfectly fitted window treatment starts before the installer arrives. The most beautiful roller shades or smart blinds can only perform as intended when the window area is accessible, the mounting surface is sound, and key room details have been considered ahead of time. Knowing how to prepare for blind installation helps protect your furnishings, keeps the appointment efficient, and gives your new custom coverings the clean finish they deserve.
For Toronto homeowners and condo residents especially, a little preparation also prevents common access issues. Tight furniture layouts, floor-to-ceiling windows, security restrictions, and busy household schedules are all manageable when addressed before installation day.
How to Prepare for Blind Installation
The first step is to confirm the installation plan with your window coverings provider. Custom blinds and shades are made to the measurements and mounting method selected during your consultation. That means changes made after measuring, such as replacing window trim, adding a backsplash near a kitchen window, or installing new built-in cabinetry, may affect the final fit.
If renovation work is still underway, schedule installation after painting, drywall repairs, and major construction are complete. Fine dust can settle into new fabrics and mechanisms, while fresh paint or caulking may not be ready to support mounting hardware. It is usually best to have flooring installed first as well, particularly when the final treatment will sit close to the sill or extend near the floor.
Keep the window area clear
Installers need a direct path to each window and enough space to safely use ladders and tools. Move furniture, decorative objects, plants, and lamps away from the window whenever possible. A clear working zone of several feet is ideal, although the exact amount depends on window height and room layout.
Do not worry about taking down existing coverings unless your provider has asked you to. In many cases, professional installers can remove old brackets and treatments as part of the appointment. If you plan to keep or donate your current coverings, let the team know in advance so removal is handled carefully.
For bedrooms and living rooms, pull beds, sofas, and side tables away from the wall. In kitchens, clear countertop appliances and fragile items beneath the window. For a home office, make room around the desk and protect monitors, printers, and electronics from dust or accidental contact during installation.
Make access easy and safe
A custom installation can be quick, but arriving at a blocked building entrance or locked suite adds unnecessary delays. Make sure someone over the age of 18 can provide access for the full appointment window. If you live in a condo, reserve the elevator if required and notify concierge or building management about the service visit.
Pets should be kept in another room, crate, or secure area. This protects them from tools, open doors, and ladders while allowing the installer to focus on accurate placement. Young children should also stay clear of the work area until the installation is complete and all packaging has been removed.
If your home has a parking restriction, loading zone policy, or gate code, share those details before the appointment. These practical details are small, but they help the installation begin on time and reduce disruption to your day.
Check the Condition of Your Windows and Walls
Blinds and shades are mounted to a frame, trim, ceiling, or wall depending on the selected style and the structure around the window. Look for loose trim, cracked plaster, water damage, or signs that a previous treatment has pulled away from the wall. These conditions do not always prevent installation, but they should be discussed before the team arrives.
Moisture is particularly relevant in bathrooms, kitchens, and areas near balcony doors. If there is active condensation, a leaking window, or mold around the frame, resolve that issue first. New window coverings should enhance comfort and privacy, not conceal a problem that needs repair.
It is also helpful to make sure windows open and close properly before installation day. This matters most when selecting inside-mounted shades, where a protruding handle, crank, sensor, or uneven frame can affect clearance. Your installer will account for the conditions measured during consultation, but a newly replaced handle or added alarm component can change the available space.
Finalize the Details That Affect Daily Use
Preparation is not only about clearing furniture. It is also your last opportunity to think through how each window treatment should function in real life. Consider where you want controls positioned and whether furniture placement makes one side easier to reach than the other.
For motorized or smart blinds, identify the preferred power approach before the appointment. Battery-powered systems offer a clean look and work well where wiring is not practical. Hardwired options can be an excellent choice during a renovation, but electrical work should be completed by a qualified professional before the blinds are installed. If you want app control, scheduled operation, or integration with your preferred smart-home setup, have the relevant account details and Wi-Fi information available.
Light control deserves the same attention. In a bedroom, confirm whether the goal is softened daylight, stronger room darkening, or privacy without losing the view. In a living room with large windows, solar shades can help manage glare and UV exposure while maintaining a modern, open feel. Zebra blinds offer flexible light adjustment, but their appearance and performance will depend on the direction of the window and the amount of daylight entering the room.
Plan Around Condo and Commercial Requirements
Condo homes often have design rules or building procedures that affect installation. Some properties require proof of insurance from service providers, designated service elevator times, or advance notice for drilling. Others have rules related to exterior-facing window appearance. Review your building handbook or contact management early, particularly if your appointment is scheduled shortly after moving in.
For offices, clinics, retail spaces, and rental properties, identify the decision-maker who can approve final placement on installation day. Window treatments may need to work around security sensors, displays, workstations, signage, or shared meeting spaces. A brief walkthrough before work begins ensures the finished result supports both the visual design and the daily operations of the space.
What Not to Do Before Installation
Avoid drilling test holes or installing temporary brackets after your measurements have been taken. Even small changes can leave visible marks or interfere with the planned mount. It is also best not to wash windows with heavily scented cleaners immediately before the appointment, particularly if fabric shades will be handled nearby. A simple clean, dry surface is enough.
Do not assume every obstruction can be worked around without affecting the result. Deep window handles, uneven trim, built-in shelves, and projecting tiles may require an adjusted mounting approach. Raise these concerns early rather than waiting until installation day. Professional guidance is especially valuable when a window is unusually large, close to a corner, or part of a compact condo layout.
Be Ready for a Final Walkthrough
Once each treatment is installed, take a moment to operate it with the installer present. Raise and lower the shade, adjust the light position, test remote controls, and ask how to clean the material safely. This is also the right time to confirm child-safety features, charging routines for motorized options, and basic care recommendations.
Canadian Blinds Pros approaches installation as the final stage of a tailored design process, not a box to check. When the room is ready and the details are clear, the team can focus on what matters most: precise alignment, reliable operation, and window coverings that make your space feel more comfortable from the moment they are in place.
A few minutes of preparation can turn installation day into a satisfying finishing touch, leaving you free to enjoy the privacy, light control, and polished look of a home designed around the way you live.