
How to Measure Condo Windows for Custom Blinds
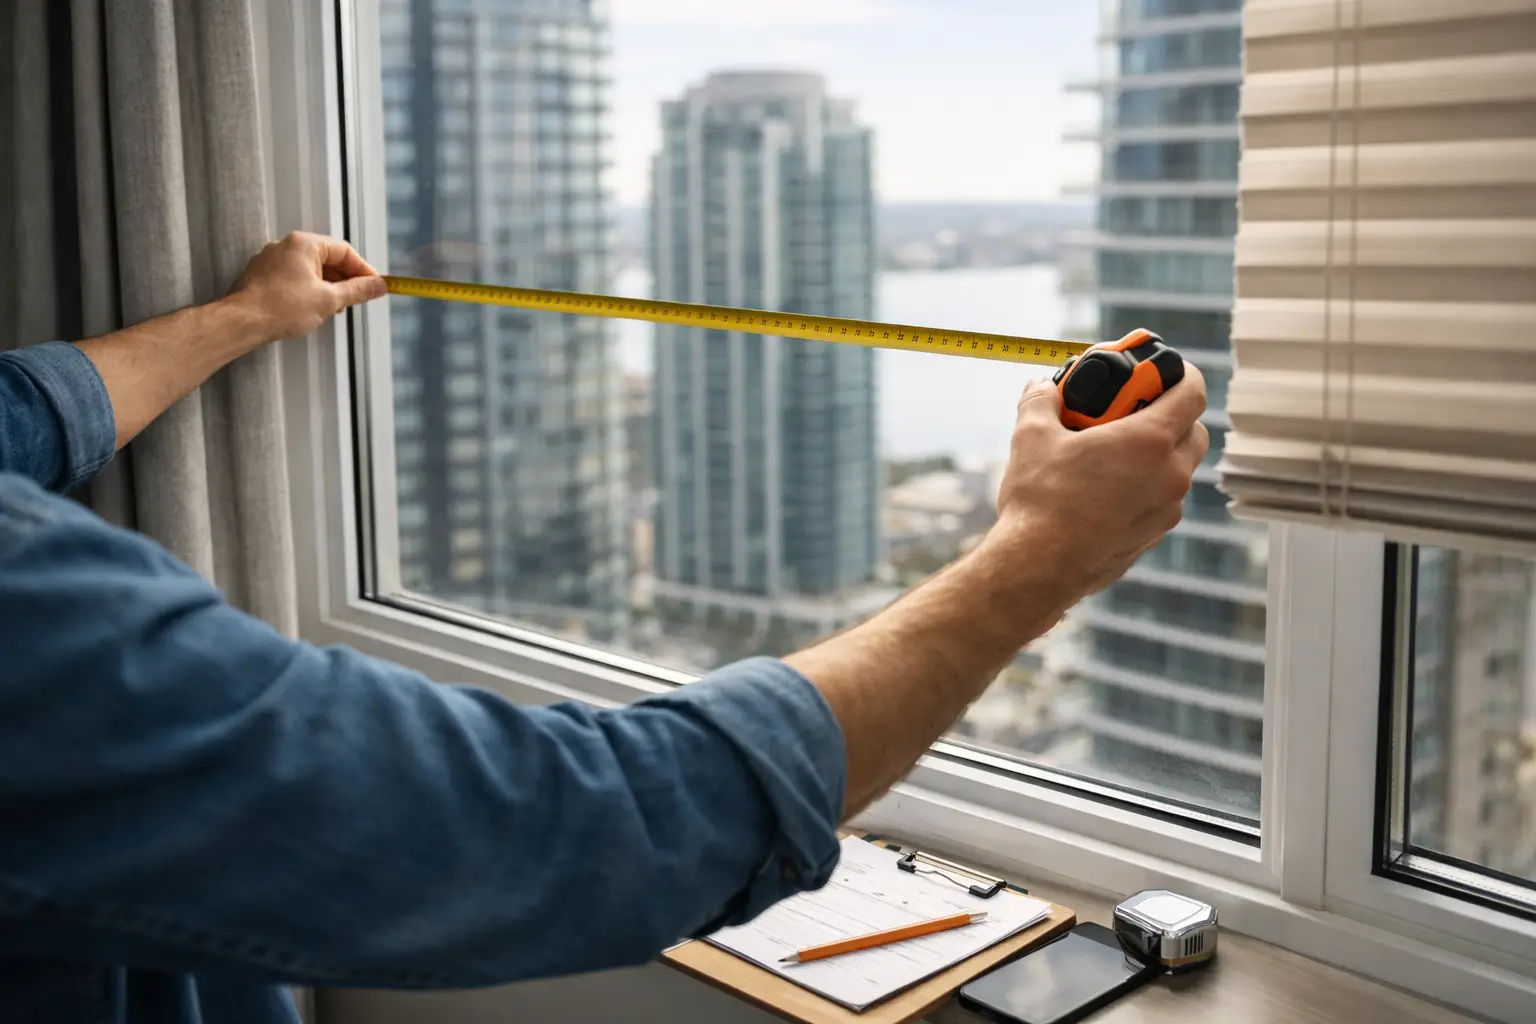

Floor-to-ceiling glass, deep window frames, concrete walls, and compact room layouts make condo windows different from the average house window. Knowing how to measure condo windows correctly is the first step toward blinds or shades that look intentional, operate smoothly, and provide the privacy and light control your space needs.
A measurement that is off by even a fraction of an inch can create a visible light gap, interfere with a handle, or leave a roller shade sitting unevenly against the glass. Before ordering custom coverings, determine whether an inside mount or outside mount is right for the window, then measure with the product and installation conditions in mind.
Start With the Right Measuring Tools
Use a steel tape measure with clear inch markings. Fabric tapes can stretch, while app-based measurements are useful for planning but not accurate enough for custom production. You will also want a pencil, paper or a notes app, and a small step stool for tall condo windows.
Measure in inches and write each opening as width first, then height. For example, record a window as 48 1/4 inches wide by 72 inches high. Do not round measurements up or down. Custom blinds and shades are built to precise dimensions, and the smallest detail can affect the finished fit.
If your condo has several windows that appear identical, measure each one separately. High-rise construction can produce small differences between openings, even along the same wall.
How to Measure Condo Windows for an Inside Mount
An inside mount places the blind or shade within the window recess. It is a clean, tailored choice for many Toronto condos because it keeps the treatment close to the glass and preserves a more open look in smaller rooms.
Before measuring, inspect the frame depth. The exact depth required depends on the product. Slim roller shades may work in a shallower recess than layered zebra blinds or motorized shades. A window can sometimes accept an inside mount but not have enough clearance for a fully recessed, flush appearance. That distinction matters when you want a minimal, built-in look.
Measure the width in three places
Measure inside the opening at the top, middle, and bottom. Record all three numbers. Use the narrowest width as your ordering width unless your window-covering professional gives different instructions for a specific product.
This prevents the finished shade from binding in an opening that narrows slightly toward the bottom. Do not make your own deductions from the width for an inside mount. Custom manufacturers account for operating clearance based on the selected system.
Measure the height in three places
Next, measure from the top inside edge of the opening to the sill or bottom of the recess. Take the measurement on the left, center, and right. Record the longest height.
For windows without a sill, measure to the point where you want the shade to end. On floor-to-ceiling windows, that is usually the floor or the bottom edge of the glass area, depending on the mounting plan. Be precise about where the frame begins and ends, particularly when a narrow metal channel surrounds the glass.
Check the window depth and obstructions
Measure the recess depth from the front edge of the opening to the glass or any item that projects into the space. Watch for cranks, handles, sensors, security hardware, trim, and uneven drywall returns. These details may limit the type of shade, bracket placement, or the amount of clearance available.
A handle that extends into the opening can prevent a shade from lowering properly. In that case, an outside mount or a product with a different roll direction may provide a better result. The right solution depends on how often the window needs to open and how much privacy or blackout coverage you expect.
Measuring for an Outside Mount
Outside-mounted blinds and shades are installed on the wall, ceiling, or frame surface around the window. This approach is often the better choice when a condo window has limited recess depth, an uneven opening, or hardware that interferes with an inside mount.
Outside mounts can also improve light control. Since the treatment extends beyond the glass, it covers more of the opening and reduces side gaps. This can make a noticeable difference in a bedroom, media area, or home office that receives strong afternoon sun.
Decide the coverage before measuring
Choose where the top of the shade will sit and how far it will extend on each side. For many windows, adding several inches beyond the opening improves privacy and creates a balanced visual frame. The available wall space, nearby cabinetry, sprinklers, soffits, and adjacent windows can limit that extension.
Measure the full width you want covered, not just the glass width. Then measure from the planned top mounting point to the desired bottom point. If you want the shade to clear the entire window when raised, confirm that there is adequate space above the glass for the headrail or fabric roll.
For a ceiling-mounted shade, measure from the ceiling down to the desired stopping point. This is common with floor-to-ceiling condo glazing, but it requires a secure mounting surface and careful placement around bulkheads, vents, and curtain tracks.
Condo Details That Can Change Your Measurements
Condo windows often come with conditions that are easy to overlook during a quick measurement. The most common issues are limited frame depth, metal or concrete surfaces, window handles, balcony door clearances, and building rules for drilling or exterior-facing appearance.
If a window opens inward, measure its swing path. A shade mounted too close to the frame may prevent the handle from turning or keep the panel from opening fully. For sliding balcony doors, consider where the shade will stack when raised and whether it will interfere with access to the door.
Motorized and smart shades need an additional planning step. Beyond the finished width and height, the installer needs to identify a power source, charging access for battery-operated systems, and the best side for the motor. In a high-rise unit, signal strength and the placement of hubs or smart-home controls can also affect the ideal setup.
Do not assume all walls are suitable for mounting. Concrete, steel studs, and drywall each require different anchors and installation methods. This does not change the window measurement itself, but it can change whether a wall mount, ceiling mount, or alternative bracket position is practical.
Avoid These Common Measuring Mistakes
The biggest mistake is measuring the glass instead of the opening or planned coverage area. The glass dimension rarely tells a manufacturer enough about the space needed for brackets, fabric, and operating clearance.
Another common issue is taking only one width and one height measurement. Window openings are not always perfectly square, especially in high-rise buildings. Measuring three points gives you the information needed to avoid a tight fit or uneven bottom line.
It is also easy to overlook trim, handles, and nearby architectural details. A shade may technically fit the width of the opening yet still look crowded against a wall return or strike a handle during daily use. Taking a few photos of the window and surrounding wall is helpful when discussing options with a design consultant.
Finally, do not deduct fabric width or add extra inches without knowing how the selected product is built. The visible fabric is often narrower than the overall bracket-to-bracket width. This is normal, but it can influence privacy and light gaps, especially on an inside-mounted roller shade.
When Professional Measurement Is Worth It
Self-measurement works well for straightforward windows when you understand the mounting style and product requirements. Professional measurement is the safer choice for floor-to-ceiling glass, large spans, blackout needs, motorized systems, balcony doors, unusually shaped openings, or windows close to concrete walls and soffits.
A professional visit does more than confirm dimensions. It identifies the best mounting surface, checks operating clearances, evaluates light gaps, and helps match the shade to the room’s function. Canadian Blinds Pros can also help condo residents choose a solution that supports privacy, UV protection, clean sightlines, and the building’s installation requirements.
The best window treatment begins with a number, but it ends with how the room feels when the sun is high, the city lights are on, and your shades work exactly as they should.