Installing motorized blinds sounds simple until you are standing on a ladder with a drill in one hand and a headrail that has to sit perfectly level in the other. If you are researching how to install motorized blinds, the real goal is not just getting them up. It is getting smooth operation, a clean finish, and the kind of fit that looks intentional in the room.
Motorized blinds are popular for good reason. They offer cleaner lines, cordless safety, better light control, and a more polished everyday experience. In condos, larger homes, and office settings, they also solve a practical problem – tall windows and hard-to-reach openings are much easier to manage when operation is built into the system. But installation is where the difference between a premium result and a frustrating one usually shows up.
Before You Install Motorized Blinds
The first step is confirming what type of system you have. Some motorized blinds are battery powered, some are rechargeable, and some are hardwired. That distinction matters because the installation process changes depending on how the motor receives power.
Battery-powered and rechargeable units are usually the most straightforward for residential spaces. They avoid electrical work, which makes them especially appealing in condos and finished rooms where opening walls is not ideal. Hardwired systems create the most hidden, architectural look, but they require more planning. If power needs to be brought to the window, that work should be coordinated before the blinds arrive, not improvised during installation day.
You also want to verify whether the blinds are designed for inside mount or outside mount. Inside mount gives a crisp, built-in appearance, but it depends on sufficient window depth and accurate measurements. Outside mount is more forgiving and can improve light blocking and privacy, especially if the window frame is shallow or slightly uneven.
Tools and Prep Work That Matter
Most motorized blind installations do not require a long list of tools, but precision matters more than speed. A drill, level, tape measure, pencil, and screwdriver are standard. You may also need a stud finder, anchors, and a step ladder depending on the wall surface and window height.
Before drilling anything, unpack the components and compare them to the order details. Check the brackets, headrail, remote or control hub, battery wand if included, charging cable if applicable, and mounting screws. It is better to catch a mismatch before making holes in the wall or frame.
This is also the point to inspect the mounting surface. Drywall around windows is not always as solid as it looks, and condo concrete or steel framing can change what hardware is required. If the included screws are not suitable for the surface, using the wrong fastener can lead to sagging brackets or noisy operation later.
Measuring and Marking for a Clean Fit
If you want to know how to install motorized blinds properly, start with bracket placement. The brackets carry the weight of the blind and control how level the headrail sits. A slight misalignment can affect operation, create fabric tracking issues, or make the blind look visibly off even if the problem is only a fraction of an inch.
For an inside mount, measure the width at the top of the window opening and mark the bracket positions according to the manufacturer spacing requirements. Keep the brackets far enough from the window surface so the shade material clears handles, cranks, or trim. For an outside mount, use a level to mark a straight line above the window and make sure the blind extends enough beyond the frame to improve coverage.
It helps to pause here and think about the room, not just the opening. In bedrooms and media rooms, a tighter installation matters because light gaps are more noticeable. In living rooms or offices, alignment with surrounding trim and furniture lines may matter just as much as blackout performance.
Installing the Brackets
Once the bracket locations are marked, pre-drill pilot holes if needed. This reduces the chance of splitting trim, cracking drywall edges, or driving screws slightly off line. Install the brackets firmly, but do not overtighten them to the point where the hardware twists.
Use a level across the brackets before moving on. This step is easy to rush, but it has an outsized effect on the final result. A blind that is only slightly out of level may still open and close, but it can wear unevenly, stop inconsistently, or create visible fabric skew over time.
For wider windows, center support brackets may also be required. These are not optional when specified. Motorized systems are heavier than manual ones because of the motor and power components, so proper support is part of both performance and longevity.
Mounting the Headrail and Motorized Shade
With the brackets in place, the headrail usually snaps, slides, or locks into position depending on the system. Support the full length as you lift it into place. Do not let one side hang while you work the other into the bracket. That can stress the mechanism or scratch the finish.
After the headrail is secured, test the physical fit before setting up controls. The blind should sit evenly, feel stable, and clear the window area without rubbing. If it looks tight on one side or tilted, correct that now. Trying to solve a mounting issue through programming almost never works.
If your system includes a battery pack or rechargeable motor connection, install that component according to the layout intended by the manufacturer. Accessibility matters here. A hidden battery is nice visually, but not if routine charging becomes awkward in everyday use.
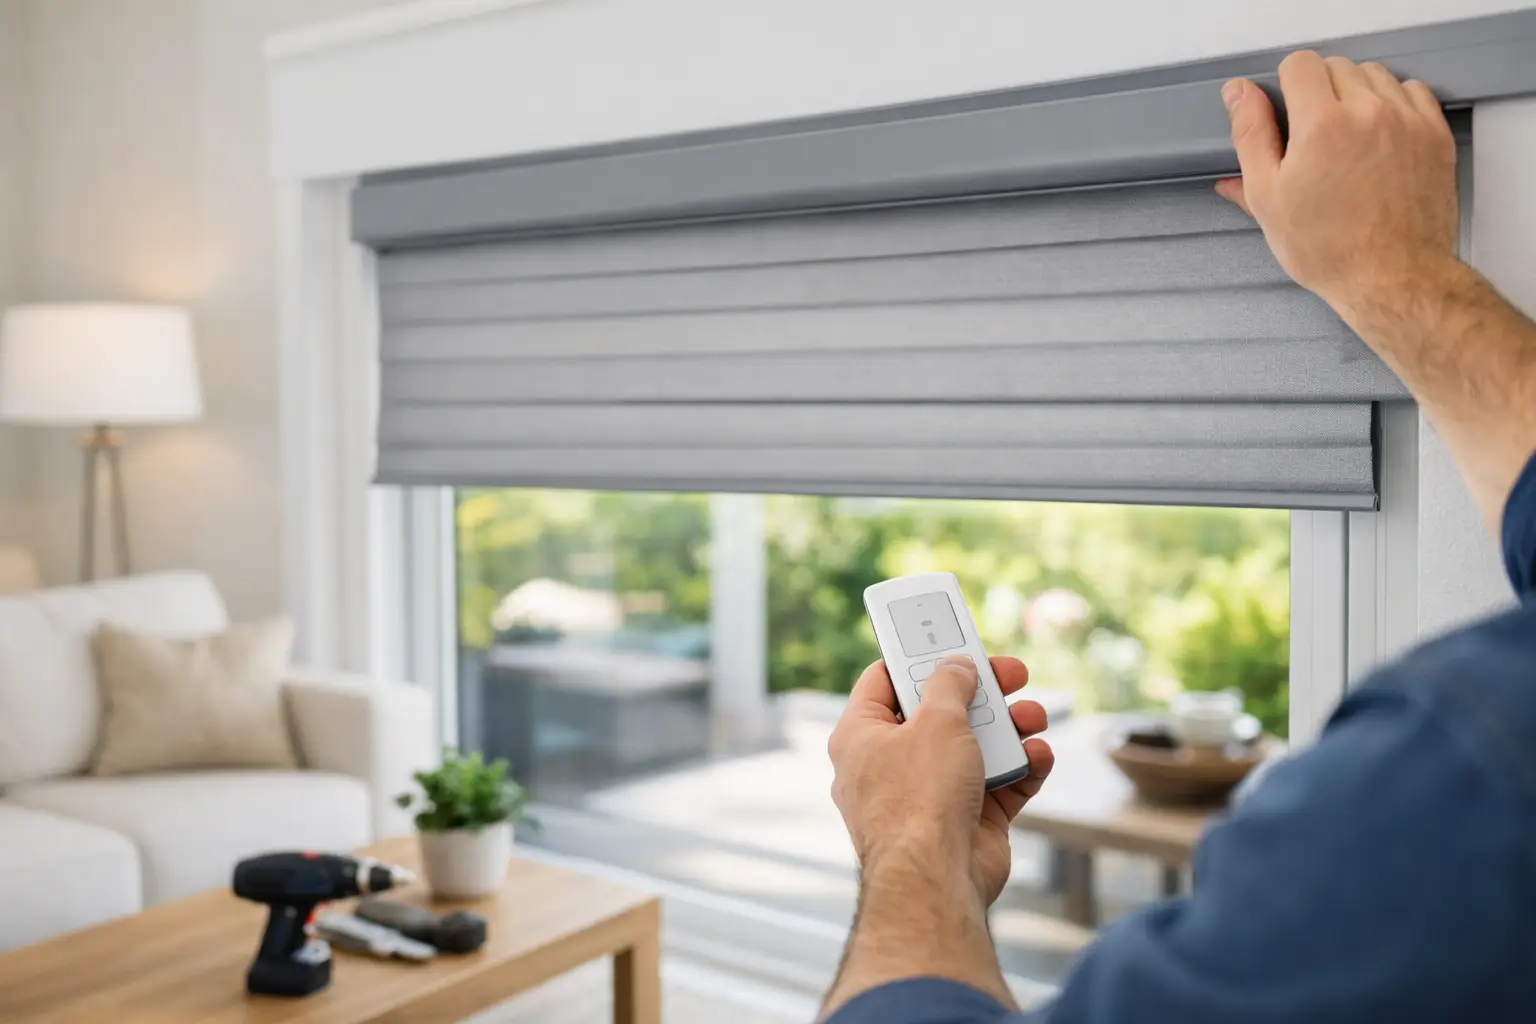
Power, Pairing, and Smart Setup
This is where motorized blinds start to feel different from standard window coverings. After the blind is mounted, the next step is powering the motor and pairing the control method. That may be a remote, wall switch, app, or smart home platform.
For battery-operated units, confirm the batteries are inserted correctly and fully seated. For rechargeable blinds, charge the motor if needed before first use. For hardwired systems, power should be tested safely and, if electrical work was involved, handled by a qualified professional.
Most systems have a programming button on the motor or headrail. This is typically used to pair the blind with a remote and set upper and lower limits. Those limits matter because they tell the blind where to stop when opening and closing. A poorly set lower limit can leave the blind hovering above the sill or dropping farther than intended.
If you are integrating with a smart home system, expect an extra layer of setup. Wi-Fi signal strength, hub placement, and app configuration all affect performance. In some homes and condos, smart control works beautifully. In others, especially where concrete walls interfere with signals, a dedicated remote can still be the most reliable day-to-day option.
Testing the Installation
Once everything is mounted and paired, run the blind through several full cycles. Listen for strain, watch for uneven rolling, and make sure the movement is smooth. Motorized blinds should feel controlled and quiet, not jerky or hesitant.
This is also the time to check the little details. Make sure the fabric hangs straight, the bottom bar is level, and the blind stops where you expect it to. If the system allows favorite positions, set those now for common uses like morning light, privacy mode, or glare control during work hours.
In larger windows, sunlight can reveal alignment issues that are harder to spot when the blind is first installed. Step back across the room and look at the blind in context. A neat install should disappear into the design of the space rather than calling attention to itself.
When DIY Makes Sense and When It Does Not
Some homeowners can absolutely handle a straightforward motorized blind installation, especially for a single standard-size window with a battery-powered system. If the measurements are correct, the mounting surface is simple, and the control setup is basic, DIY can be reasonable.
But there are situations where professional installation is the better decision. Extra-wide windows, multiple blinds that need synchronized operation, hardwired motors, concrete or metal mounting surfaces, and high condo windows all raise the stakes. So do custom finishes and tightly measured inside mounts where even a small error is obvious.
That is one reason many clients prefer a full-service approach. With a company like Canadian Blinds Pros, the measurement, product selection, and installation are handled together, which reduces the chance of a good product being undermined by one bad measurement or rushed bracket placement.
Common Mistakes to Avoid
The most common problems are not complicated. They are usually small installation errors that create bigger frustrations later. Mounting into weak material without the right anchors, skipping the level check, ignoring bracket spacing, or choosing an inside mount for a window that is not actually square are all easy ways to compromise the result.
Another common mistake is treating motorization like an add-on rather than part of the design plan. The best installations account for charging access, control preferences, privacy needs, and the way the room is actually used. A living room with strong afternoon sun needs different setup choices than a bedroom or conference room.
A well-installed motorized blind should feel effortless from day one. That usually comes down to careful measuring, secure mounting, and realistic planning about power and control.
If you want the finished look to match the promise of the product, take your time with the setup or bring in an installer who does this every day. The right blind should not just move at the touch of a button. It should make the whole room feel more finished, more comfortable, and easier to live in.