
How to Measure Windows for Blinds and Shades: A Complete Toronto Guide
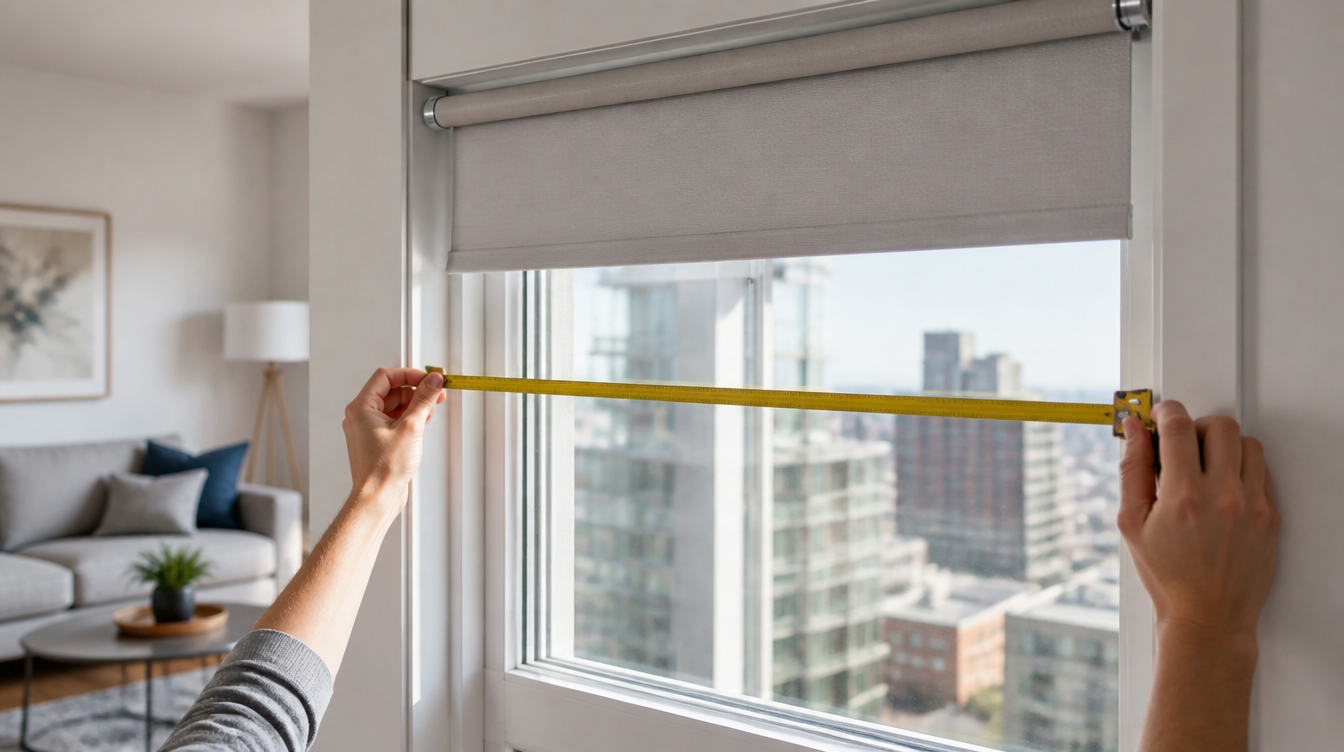

Getting the measurements right is the single step that decides whether your new blinds look custom or look like a mistake. A shade that is an eighth of an inch too wide will not sit in the window frame. One that is cut too narrow leaves light gaps down both sides. The good news is that measuring windows for blinds is a short, repeatable process once you know which numbers matter and how a workroom actually uses them.
This guide walks through how to measure for blinds and shades the way a professional installer does it across Toronto and the GTA, from choosing an inside or outside mount, to the three-point width and height rule, to the quirks of bay windows, arched tops, and sliding patio doors. If you would rather hand the tape measure to someone else, a free in-home consultation removes the guesswork entirely, since the final measurement becomes the measurer’s responsibility rather than yours.
What You Need Before You Start
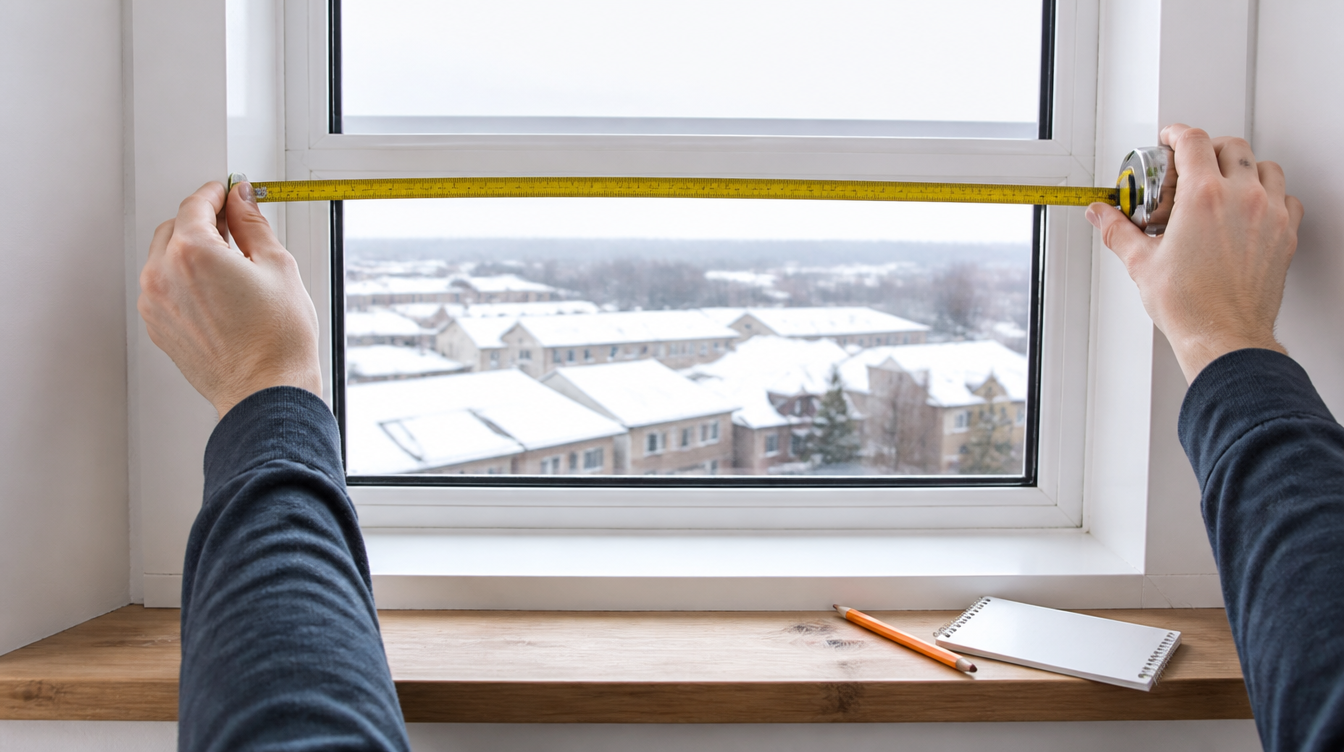
To measure windows for blinds you need a steel tape measure, a pencil, a notepad, and a step stool for tall windows. Measure to the nearest 1/8 inch, write every number down, and label each window so the measurements do not get mixed up. That is the whole kit. The one tool people get wrong is the tape itself.
Use a steel tape, not a cloth or fabric one. Cloth tapes stretch and sag, and over a 60-inch window that stretch can throw your width off by a quarter inch, which is enough to spoil the fit. Custom blinds in Canada are ordered in inches, usually to the nearest eighth, so a metal tape with clear eighth-inch marks is what the workroom expects.
Write down each measurement next to a plain-language label like “living room left” or “primary bedroom south.” If you are measuring several windows, this labelling matters more than it sounds, because two openings that look identical from across the room are often off by half an inch, and that half inch is the difference between a clean fit and a reorder.
Width Always Comes First
There is one convention that saves a lot of confusion: always record width before height, and say it that way too. The industry writes measurements as width by height, so a window noted as 36 by 48 is 36 inches wide and 48 inches tall. Mixing the order is one of the most common reasons an order comes back wrong, so pick the width-first habit and keep it on every window.
Inside Mount or Outside Mount: Decide This First
Before you touch the tape, decide where the blind will sit, because the two mounting styles are measured in completely different ways. An inside mount sits inside the window frame, giving a clean, built-in look that shows off the trim. An outside mount sits on the wall or on the moulding above and around the opening, which hides an out-of-square frame and blocks more light around the edges.
| Factor | Inside mount | Outside mount |
|---|---|---|
| Look | Recessed, trim stays visible | Covers the frame, windows look larger |
| Light control | Small light gaps at the edges are normal | Better edge coverage, good for blackout |
| Needs | Enough frame depth for the brackets | Flat wall or moulding to screw into |
| Out-of-square frame | Shows gaps if the frame is uneven | Hides an uneven or damaged frame |
| How width is used | Factory deducts for clearance | Your measurement is the finished size |
Most Toronto homes with deep, well-built window casings look best with an inside mount, especially on newer vinyl windows. Condos, drywall-returned openings with shallow or no usable depth, and any window where you want full blackout tend to favour an outside mount. If you are weighing the two, our breakdown of inside mount versus outside mount blinds goes deeper on the trade-offs.
How to Measure for an Inside Mount
For an inside mount, measure the width inside the frame at the top, middle, and bottom, and record the narrowest. Measure the height at the left, centre, and right, and record the measurement the manufacturer asks for. Then check the frame depth so the brackets fit. Here is each step in order.
Step One: Width at Three Points
Measure the inside width of the opening in three places, across the top, across the middle, and across the bottom. Windows are rarely perfectly square, and these three numbers are often different by a sixteenth or an eighth. Write down the narrowest of the three. That narrowest width is what lets the blind clear the frame as it raises and lowers without scraping.
Do not round the number or shave anything off it yourself. The factory applies its own deduction, usually around a quarter to a half inch depending on the product, so the blind ends up slightly smaller than the opening. If you deduct as well, you double the gap and the shade ends up too narrow.
Step Two: Height at Three Points
Measure the height from the top of the opening down to the sill on the left side, the centre, and the right side. If there is no flat sill, measure to the point where you want the blind to end. For inside mounts, most manufacturers ask you to record the longest of the three heights so the shade covers the full opening, but some ask for the exact measurement with no rounding. This is one of the places where the product instructions genuinely differ, so follow the specific order form rather than a general rule.
Step Three: Check the Depth
Depth is the measurement people forget, and it is the one that decides whether an inside mount is even possible. Measure from the face of the glass or the window stop back to the front edge of the frame. Each product needs a minimum depth for a flush mount, and a bit more for a fully recessed one. A slim roller shade might need only an inch, while a cellular or a dual shade with a cassette headrail needs more. If the frame is too shallow, the blind will stick out past the trim, and that is usually the moment to switch to an outside mount.
| Inside mount step | What to record | Why it matters |
|---|---|---|
| Width (top, middle, bottom) | The narrowest of the three | Lets the blind clear the frame |
| Height (left, centre, right) | Longest or exact, per the order form | Covers the full opening |
| Depth | Glass to front edge of frame | Decides if a recessed mount fits |
| Deductions | None, leave them to the factory | Prevents a double deduction |
How to Measure for an Outside Mount
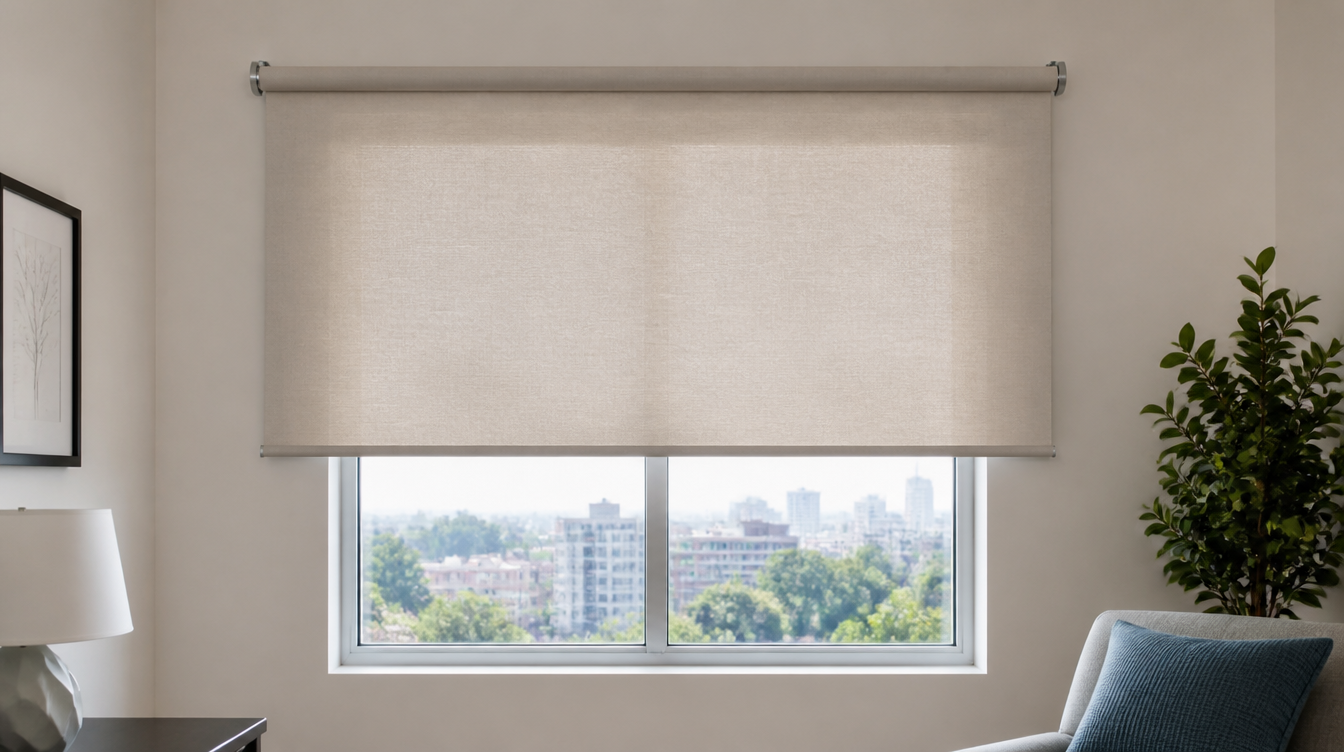
For an outside mount, measure the exact area you want the blind to cover, then add roughly 3 to 4 inches to the width and 2 to 3 inches to the height for overlap. Mount the brackets a few inches above the opening so the stacked blind clears the glass when raised. Unlike an inside mount, the measurement you record for an outside mount is the finished size of the blind, with no factory deduction, so overlap is on you to plan.
Width With Overlap
Decide how far past the window you want the blind to reach, then measure that full width. A common choice is to add about 1.5 to 2 inches on each side beyond the opening, which gives roughly 3 to 4 inches of total overlap. The wider you go, the more you block side light, which is exactly what you want in a bedroom or media room. If there is window trim, you can either mount outside the trim entirely or land the brackets on the moulding, as long as it is flat and solid enough to hold a screw.
Height and Bracket Position
Measure from where the top of the headrail will sit down to where you want the blind to end, whether that is the sill, the apron below it, or a set point on the wall. Then plan for mounting height. Placing the headrail 2 to 3 inches above the opening does two things: it hides the gap at the top, and it gives a roller or cellular shade room to stack above the glass so your view is not blocked when the blind is up. For full blackout, run the blind well below the sill and pair it with side channels, a detail covered in our guide to blackout blinds.
The Three-Point Rule, and Why Windows Are Never Square
The reason you measure width and height in three places comes down to how houses settle and how frames are installed. A window that reads 35 and a half across the top can read 35 and five eighths across the bottom. Older Toronto homes, in particular, have frames that have shifted over decades, and even new construction has a tolerance. Measuring at three points catches that variation. Trusting a single measurement is how you end up with a blind that binds on one side or leaves a wedge-shaped light gap on the other.
This is also why the answer to “are 35 inch blinds really 35 inches” is usually no for an inside mount. The 35 you ordered is the opening size you supplied, and the actual slat or fabric width is cut slightly smaller so the product can move freely. That built-in deduction is normal and intended.
Measuring by Window Covering Type
The three-point method is the foundation for every product, but a few types have their own wrinkles. The headrail size, the stack, and the way the fabric or slats hang all change what you watch for.
| Product | What to watch when measuring |
|---|---|
| Roller and zebra shades | Confirm depth for the roll or cassette; narrower rolls need more projection |
| Cellular and honeycomb | Deeper headrail and stack; check frame depth and top clearance |
| Roman shades | Fabric stack sits above the glass; outside mount often looks cleaner |
| Vertical blinds and panel tracks | Track width plus side stacking room; measure for the stack direction |
| Venetian and wood blinds | Slat tilt needs depth clearance; heavier at wide sizes |
| Shutters | Frame is built in; depth is critical and professional measuring is standard |
If you already know which product you want, the matching buyer’s guide covers its measuring and mounting quirks in detail: roller shades, cellular shades, roman shades, vertical blinds, panel track blinds, venetian blinds, and California shutters. For patio and wide openings, a zebra blind or a motorized option can change how you plan the stack, and our page on motorized blinds explains why wide windows often go cordless.
Measuring Difficult Windows
Standard rectangular windows are the easy case. The windows that cause reorders are the odd ones, and Toronto housing stock has plenty of them, from century homes with bay fronts to condos with floor-to-ceiling glass.
| Window type | How to approach it |
|---|---|
| Bay window | Measure each section separately and note the angles between panes |
| Arched or specialty top | Record base width and centre height, then trace the curve for a template |
| Sliding patio door | Allow stacking room to one side so the door still opens fully |
| French doors | Shallow mounts, measure handle clearance and door depth |
| Skylight or sloped | Needs a tensioned system; measure the full reveal carefully |
| Corner windows | Plan which blind clears the other where they meet |
These are the cases where an experienced measure pays for itself. We cover several in depth, including how to measure an arched window, how to fit bay window blinds, and the extra steps for skylight and roof windows. Condos bring their own challenges with concrete ceilings and limited drilling, which is why the Toronto condo window covering guide and our no-drill blinds guide are worth reading before you measure.
Common Measuring Mistakes
Almost every measuring error falls into one of a handful of buckets. Knowing them ahead of time is most of the battle.
| Mistake | The fix |
|---|---|
| Measuring once, not three times | Always take width and height at three points |
| Writing height before width | Record width first, every time |
| Deducting your own clearance | Supply the opening size and let the factory deduct |
| Forgetting depth | Check depth before committing to an inside mount |
| Using a cloth tape | Use a steel tape for a true reading |
| Measuring the old blind | Measure the window, not the product you are replacing |
Replacing Old Blinds: Measure the Window, Not the Blind
When you are swapping out tired blinds, it is tempting to measure the old product and order the same size. Skip that. The old blind was already deducted for clearance, so copying its size bakes a second deduction into the new order and leaves you with something too small. Take the old blind down, measure the opening fresh with the three-point method, and treat it as a new window. The only time the old product helps is as a rough sanity check on mount style and bracket position.
Why the Final Measurement Belongs to the Professional
You can absolutely measure your own windows, and this guide gives you everything you need to do it well. It is worth being honest about where the risk sits, though. With custom window coverings, the person who supplies the measurement owns the result. Measure it yourself and a cutting error is on you, with no remake. When a trained measurer takes the final numbers during a free in-home consultation, the fit becomes their responsibility, and a mis-measure gets remade rather than lived with.
An in-home measure also catches the things a tape does not show on its own. A measurer checks whether the frame is square, whether the drywall return has enough depth, whether a tilt wand will hit the handle on a door, and whether a wide window needs a center support or a split. On specialty shapes and on custom drapery or motorized systems, that judgment is the difference between a product that works and one that technically fits but fights you every day. For most homeowners, the smart split is simple: measure yourself to plan and budget, then confirm with a professional before anything is cut.
Child and Pet Safety Starts at the Measuring Stage
Measuring is also the moment to decide on controls, and for any home with young children or pets, that decision leans cordless. Canada’s federal Corded Window Coverings Regulations set strict limits on accessible cords on products sold in the country, and the simplest way to meet the spirit of those rules in a kids’ room is to choose a cordless or motorized lift from the start. Plan it now, while you have the tape in hand, rather than retrofitting later. Our guide to cordless blinds covers the options, and top-down bottom-up shades are a popular cordless choice for balancing light and privacy.
Your Quick Measuring Checklist
| Step | Done when |
|---|---|
| Pick mount style | You know it is inside or outside for each window |
| Measure width x3 | Narrowest recorded for inside mount |
| Measure height x3 | Longest or exact per the order form |
| Check depth | Frame is deep enough, or you switch to outside mount |
| Add overlap | Outside mounts have side and top allowance |
| Label everything | Each window named, width first |
| Confirm with a pro | Final numbers verified before cutting |
Frequently Asked Questions
How do I measure a window for blinds?
Choose an inside or outside mount first. For an inside mount, measure the width inside the frame at the top, middle, and bottom and record the narrowest, then measure the height in three places and the frame depth. For an outside mount, measure the area you want to cover and add overlap. Always write width before height.
Do I measure width or height first?
Width first, always. The industry writes and reads measurements as width by height, so a 36 by 48 window is 36 inches wide and 48 inches tall. Recording them in the wrong order is one of the most common reasons a custom order comes back the wrong size.
Should I deduct anything from my measurements?
No. For an inside mount, supply the exact opening size and let the manufacturer apply its own deduction for clearance, usually a quarter to a half inch. If you deduct too, the blind ends up too narrow. For an outside mount, your measurement is the finished size, so you add overlap rather than subtract.
Are 35 inch blinds really 35 inches wide?
For an inside mount, usually not exactly. The 35 you order is the opening size, and the actual slat or fabric width is cut slightly smaller so the blind can raise and lower freely inside the frame. That small factory deduction is normal and lets the product fit and function.
How much gap should I leave for blinds?
For an inside mount you do not leave a gap yourself; the factory deduction creates the clearance, and small light gaps at the edges are normal. For an outside mount, add roughly 1.5 to 2 inches of overlap on each side and 2 to 3 inches above the opening to block light and hide the frame.
What tools do I need to measure for blinds?
A steel tape measure, a pencil, and a notepad are the essentials, plus a step stool for tall windows. Avoid cloth tapes because they stretch and give false readings. Measure to the nearest eighth of an inch and label each window as you go.
How deep does a window need to be for an inside mount?
It depends on the product. A slim roller shade may need only about an inch of depth for a flush mount, while cellular shades and dual shades with a cassette headrail need more for a fully recessed look. Measure from the glass to the front edge of the frame and check the product’s minimum before ordering.
How do I measure for an outside mount?
Measure the full area you want the blind to cover, then add overlap: about 1.5 to 2 inches on each side and 2 to 3 inches above the opening. Mount the headrail a few inches above the window so a raised roller or cellular shade stacks above the glass and does not block the view.
How do I measure old blinds for replacement?
Do not copy the old blind’s size. It was already deducted for clearance, so reusing its measurements makes the new blind too small. Take the old product down and measure the window opening fresh using the three-point method, treating it as a brand-new window.
Why do I measure width and height in three places?
Because windows are rarely perfectly square. Frames settle and installations have tolerances, so the top, middle, and bottom of an opening can differ by a sixteenth or an eighth of an inch. Measuring in three spots catches that variation so the blind fits without binding or leaving uneven gaps.
Can I measure for blinds myself or should I hire someone?
You can measure yourself, and this guide covers the method. The catch is that whoever supplies the final measurement owns the result, so a self-measured cutting error is not remade. A free in-home measure shifts that responsibility to the measurer and catches issues like out-of-square frames and shallow returns.
How do I measure a bay window for blinds?
Treat each section of the bay as its own window. Measure the width and height of every pane separately, record them width first, and note the angles where the sections meet so the blinds can be planned to clear one another. Bay windows are a common case where a professional measure prevents reorders.
How do I measure a sliding patio door for blinds?
Measure the full width and height of the opening, then plan stacking room so the covering clears the door when it is open. Vertical blinds and panel tracks are popular here because they slide to one side. Allow extra width beyond the glass so the stack sits off the door when you walk through.
Do blinds come in standard sizes or are they custom?
Both exist. Stock blinds come in set widths you cut or trim to fit, while custom blinds are made to your exact opening. Custom gives a cleaner fit on out-of-square or oversized windows and on specialty shapes, which is why made-to-measure is the norm for a built-in look.
What happens if I measure wrong?
Too wide and the blind will not fit the opening; too narrow and you get light gaps down the sides; too short and it does not cover the glass. On custom orders a self-measured error usually is not remade, which is the main reason to confirm your numbers with a professional before anything is cut.
How accurate do my measurements need to be?
Measure to the nearest eighth of an inch. Custom window coverings are cut to that tolerance, so rounding to the nearest half inch or inch is enough to spoil the fit. Use a steel tape, take each measurement three times, and write down the exact reading rather than a rounded one.
Ready to Measure the Right Way?
Measuring your own windows is a good first step for planning a room and setting a budget, and the three-point method here will get you close. When it is time to order, let an expert confirm the numbers so the fit is guaranteed rather than hoped for. Our team measures windows across Toronto and the GTA every week, from downtown condos to older homes in the suburbs, and we carry the mount-style and product judgment that a tape measure cannot. Book a free in-home consultation and we will handle the measuring, so your new blinds fit the first time. You can also browse more practical guides on the blog.